
Before I fitted the campervan floor, I had to think about what I wanted to use my van for. I knew, at times, I would need to use it as a carthorse as well as a campervan. That, along with the cost, threw out the thought of having a rock 'n' roll bed. My VW T25 had a partial raised rear that goes over the engine bay and it sloped, as seen in the photo. I realise that if I squared it off, this platform would make a good seating area and, if extended, a good bed area.
 |
| Fitting Campervan Floor |
I installed a 2cm x 2cm wooden baton framework to the platform using just No-Nails type adhesive and formed a right angle to hide the slope. This left an area that I could use for storage, so created two openings in the framework.
As I was in Spain while I did up my van, I struggled to find any suitable insulation so had to settle for bubble wrap for the floor. It's worked well....it never feels very cold, even in England. I brushed all the metal with warm grease before putting bubble wrap onto it.
 |
| Fitting Campervan Floor |
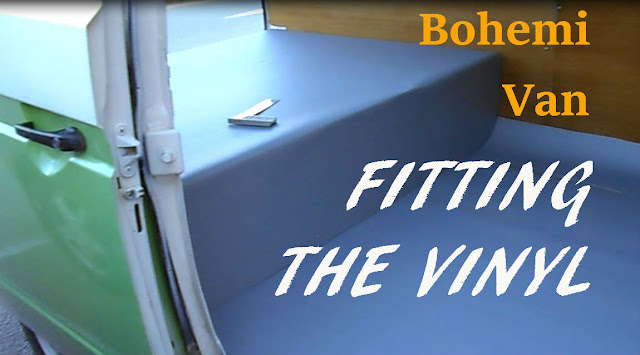
I managed to squash a piece of vinyl flooring into the void, even it out and screw up through it and into the baton.
 |
| Fitting Campervan Floor |
I used some silicone too to help it stay in place. Two years on and it's not moved.
 |
| Fitting Campervan Floor |
This is the front panel of oak ply.
 |
| Fitting Campervan Floor |
I measured and cut the basic shape of the front panel, held it up into place and drew with a pencil the outline of the holes from inside the void....then cut them out.
You can just see black electrical conduit leading into the void on either side. I ran this from the cab side of the bulkhead, down the middle of the floor and to either side of the void. This enables me to get cables from the battery in the cab to the back should I ever wish to install, say, speakers or another cigarette lighter without worrying about how to hide them.
 |
| Fitting Campervan Floor |
 |
| Fitting Campervan Floor |
Fitting the baton to the main floor was tricky as it undulates in random ways. There was a lot of standing and staring going on!
I wanted to ensure the floor would feel solid underfoot but I also wanted to use the minimum wood possible to keep the finished weight of the van down. My van weighed in at 1.5 tonnes in the end, which is as low as a VW Transporter, so all my weight-pinching paid off.
 |
| Fitting Campervan Floor |
I'd already prepared and painted the floor but I wanted to be sure no rust developed out of sight, so I brushed the metal with warmed grease to block air from being able to get to it. I then filled each area with bubble wrap before covering the batons with oak ply.
I fixed it down with both adhesive and short screws. Not so much adhesive the ply would never be removable but enough to ensure I never got a squeak.
All the walls and the bulkhead had been covered by oak ply already by me.
 |
| Fitting Campervan Floor |
I fitted a length of pine at the threshold to fill the height gap.
 |
| Fitting Campervan Floor |
Once the floor was covered in the oak ply, I fitted the lino, which was a healthier material than vinyl as it let off less gender-bending chemicals.
You can see me installing the floor, including the lino, by watching the video playlist below.
